 Absolute Beginners
Buying a bike and getting started can seem a nightmare - there's so much choice and bewildering range of options and accessories. What we've tried to do here is break things down to the essentials; advice on how to buy, advice on the all important subject of bike fit, and advice on the essential kit that you'll need to get you started in comfort and safety.
Buying
 Cycling is a vast subject and the range of equipment you can get is huge. Don't try to work it out entirely for yourself. View it like you would view buying something half-way between an expensive suit and a new car.
- Shop around and take note of the customer service/interest shown in you by the bike shop. You want good advice which is relevant to YOU (i.e. they must listen to your needs). You want to be given relevant information, but not blinded with science. You want time to be spent fitting the bike to you - there are saddle options (gender-specific) and a range of other settings which need to be done to get the bike to suit you.
- Try several shops to get a feel for their ability to "tailor" the solution to your needs and look at prices, specification levels etc. Do some reading up on the subject, try other people's bikes that are like the one you want to buy. Get a test ride if you can. Go to a test day (many big manufacturers and shops run these).
- A good shop will be patient and diligent as they seek to get a bike to fit you - very much as a quality tailor would measure you up for a piece of bespoke clothing. Especially when buying a new bike, expect this attention to detail.
- Get the right accessories - primarily, shorts (needn't be lycra - but do go for padded - there are lots of styles these days, which look like normal leisure clothing), windproof or waterproof top, helmet, eye protection and padded gloves/mitts. They may well make the difference between enjoying your new bike and leaving it in the shed. And STICK AT IT - few people are entirely happy when they start cycling - you body may take a couple of weeks to adjust (soft tissue toughens up in the saddle area for example).
- Buying second hand is more difficult and there's a lot to be said for shopping around again and taking someone with you who knows what they are talking about.
- Avoid - buying bikes unseen/untried/cheap bikes (they are never bargains)/flat packed bikes and self assembly/Ebay bikes
Make your Bike Fit
 Making your bike fit you is one of the cheapest ways of improving your comfort and efficiency. Before you start changing saddles, handlebars and stems on the quest for comfort, make sure that your basic posture on the bike is right. We're not talking about optimising a position for time trailling, or road racing here. We're talking about a good general riding position and a few fundamentals of bike fit.
- When making adjustments to the fit of your bike, change one thing at a time and then go for a short test ride. If you change two things at once, you won't be able to isolate what's right or wrong.
- The following assumes that you've already got a bike that is roughly the right size. There are limits to how much you can adjust an ill fitting frame, without compromising handling and stability. If you're in the market for a new bike, go to a quality bike shop, try some bikes out and get some good advice (see above).
- You shouldn't be able to touch the floor with both feet when sitting on the saddle! An all too common myth and a hangover from your learner days. To set your saddle height correctly, sit on the bike and rotate the pedals until one of them is at the furthermost position from the saddle (i.e. in line with the seat tube). Your leg should be very slightly bent and you should be able to turn the pedals without stretching, pointing your toe or rocking your hips.
- Start with your saddle level - Looking at the bike from the side, the top of the saddle should be level. Use a spirit level, as the tops of saddles can be a confusing shape. Use this as a starting point. If you find you're having to push yourself back onto the saddle as you ride, angle it slightly back. If you find that the front of the saddle is squashing your delicate areas, try angling the saddle slightly forwards. Whichever way you go, make small adjustments and take the bike for a quick test ride in between. You'll know straight away if it is wrong.
- Start with your Handlebars level with your Saddle - Cue gasps of horror from die-hards/racers. Trust me, it's good advice. Get your bars level with your saddle to begin with. This will lessen strain on your lower back, relieve the crick in your neck and distribute the load more appropriately between your hands and your sit bones. If you find your back is strained or there's still too much weight on your wrists, lift the bars more. If you feel you'll be more comfortable with your bars slightly lower, then try it out, but only make small changes at a time. If you're setting your riding position based on magazine pictures or peer pressure, forget it and listen to your body instead. A flat back may be the holy grail for racing, but we're talking about enjoying the ride aren't we? Chances are that after a long day in the saddle, discomfort will take a much bigger toll than a slight aerodynamic trade-off.
- Sorting out your Reach is an 'arms-length' affair - Reach is the distance between the tip of your saddle and your handlebars (at the point where you hold them most of the time). A really good rule of thumb, which sounds archaic and 'old wives' tale-ish' is to put your elbow against the tip of the saddle with your forearm pointing towards the stem. Place your other hand sideways at the tip of your fingers, forming a letter 't' with your hands. Your little finger should line up with your handlebars. You can adjust reach in a number of ways. You can buy a longer or shorter stem or more cheaply, you can slide the saddle back and forth on the rails to accommodate.
- The four golden rules above should sort out 90 percent of your fit issues. From then on in, it's fine tuning and experimenting to maximise your comfort without blunting your efficiency too much.
Don't leave home without...
 OK, there's plenty of stuff you can do without, but there's also a smallish list of really useful stuff that'll make your cycling so much more enjoyable and a couple of things that you really shouldn't leave home without.
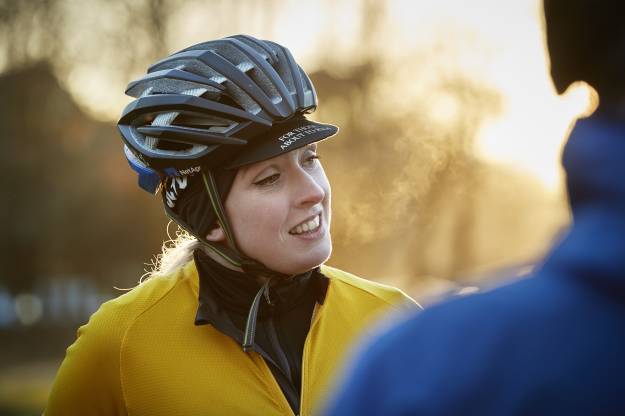
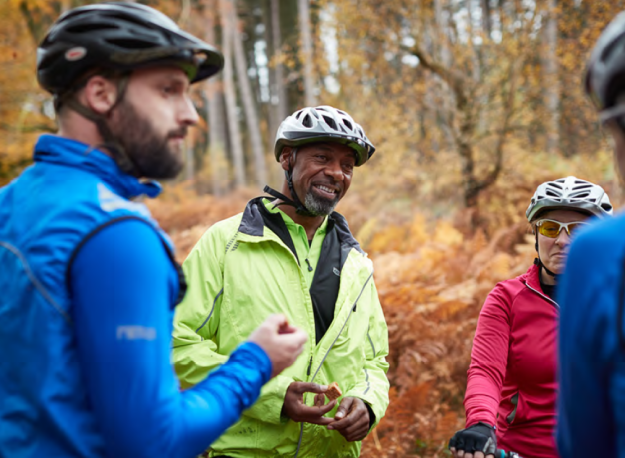
- Helmet - like them or loathe them, and you'll find a whole heap of statistics on either side of the helmet argument. But if you're going to go to ground, you'll be wanting some protection between your skull and the tarmac. There are lots of different models around at every price point. Best advice is to go for a respected brand and buy the cheapest one that fits properly and looks good. The latter may seem a little vain, but if you're happy with the way you look in your helmet, you're more likely to wear it on every trip. Oh and one last thing. Hang it on your handlebars when you're bike's at rest - then you're less likely to 'just pop out' without it.
- Pump - sounds a bit obvious this, but a good pump that actually pumps tires up hard with relative ease is the one to go for! Look out for pump tests in the magazines but don't be swayed by masses of features or 'bargains'. I went through 6 pumps, getting about 5 punctures out of each, before they either broke or became ineffectual, before I stumped up a few extra quid and got a decent one which has lasted me about 7 years so far.
- Spare Tube and Repair Kit - and the skills to know how to deploy it. There are two main valve types these days, Presta (the skinny one) and Shraeder (the car type). Make sure you get the right valve type to fit your rims and/or pump.
- A Multitool - a basic penknife style multitool will sit innocently in your bike bag until called upon, at which point you'll be forever in its debt. If you handlebars come loose at the top of a descent half way around a 20 mile trail, what are you going to do? At a minimum it should have: 2 - 6mm Allen keys (8mm is nice too) plus a flat blade and Phillips screwdriver. That will cover 90 percent of the fasteners on your bike and probably all the parts of the bike that a non- mechanic is likely to tackle.
Nice if you can get it
- Waterproof and breathable cycling jacket - a jacket that is cut for cycling, keeps the elements at bay and lets the sweat out is at the top of the wish list for all year round use in the UK. A cycling specific cut means short at the front and long and the back, to prevent bunch and keep the kidneys warm. However a lot of shorter general outdoor jackets will have this cut too if you don't like the 'I'm a cyclist' look.
- A Wicking baselayer - a non cotton t shirt or base layer under your riding jacket is a great investment. Avoid cotton shirts and T shirts and banish clamminess forever.
- Warm, thin, grippy gloves - gloves make cycling so more comfortable from around November through to March. Again, cycling specific isn't essential but a good cut with grippy palms, allowing you to operate the brakes and gears and hang on tight is pretty important.